Pictures at night - tips & tricks for beginners
Have you ever reached for your camera at night in view of the shiny colors on the asphalt after a rain shower? Or discovered the Milky Way in the night sky on vacation and enthusiastically snapped away? Then you know the sobering result when you look at the pictures the next morning. The great nocturnal impressions are difficult to capture due to the difficult photo conditions caused by the lack of light during the dark hours. To avoid beginner's mistakes like using autofocus and flash and soon start taking great photos at night yourself, you just need to follow a few tips and tricks that can help you get started with night photography.
Creative photography at night
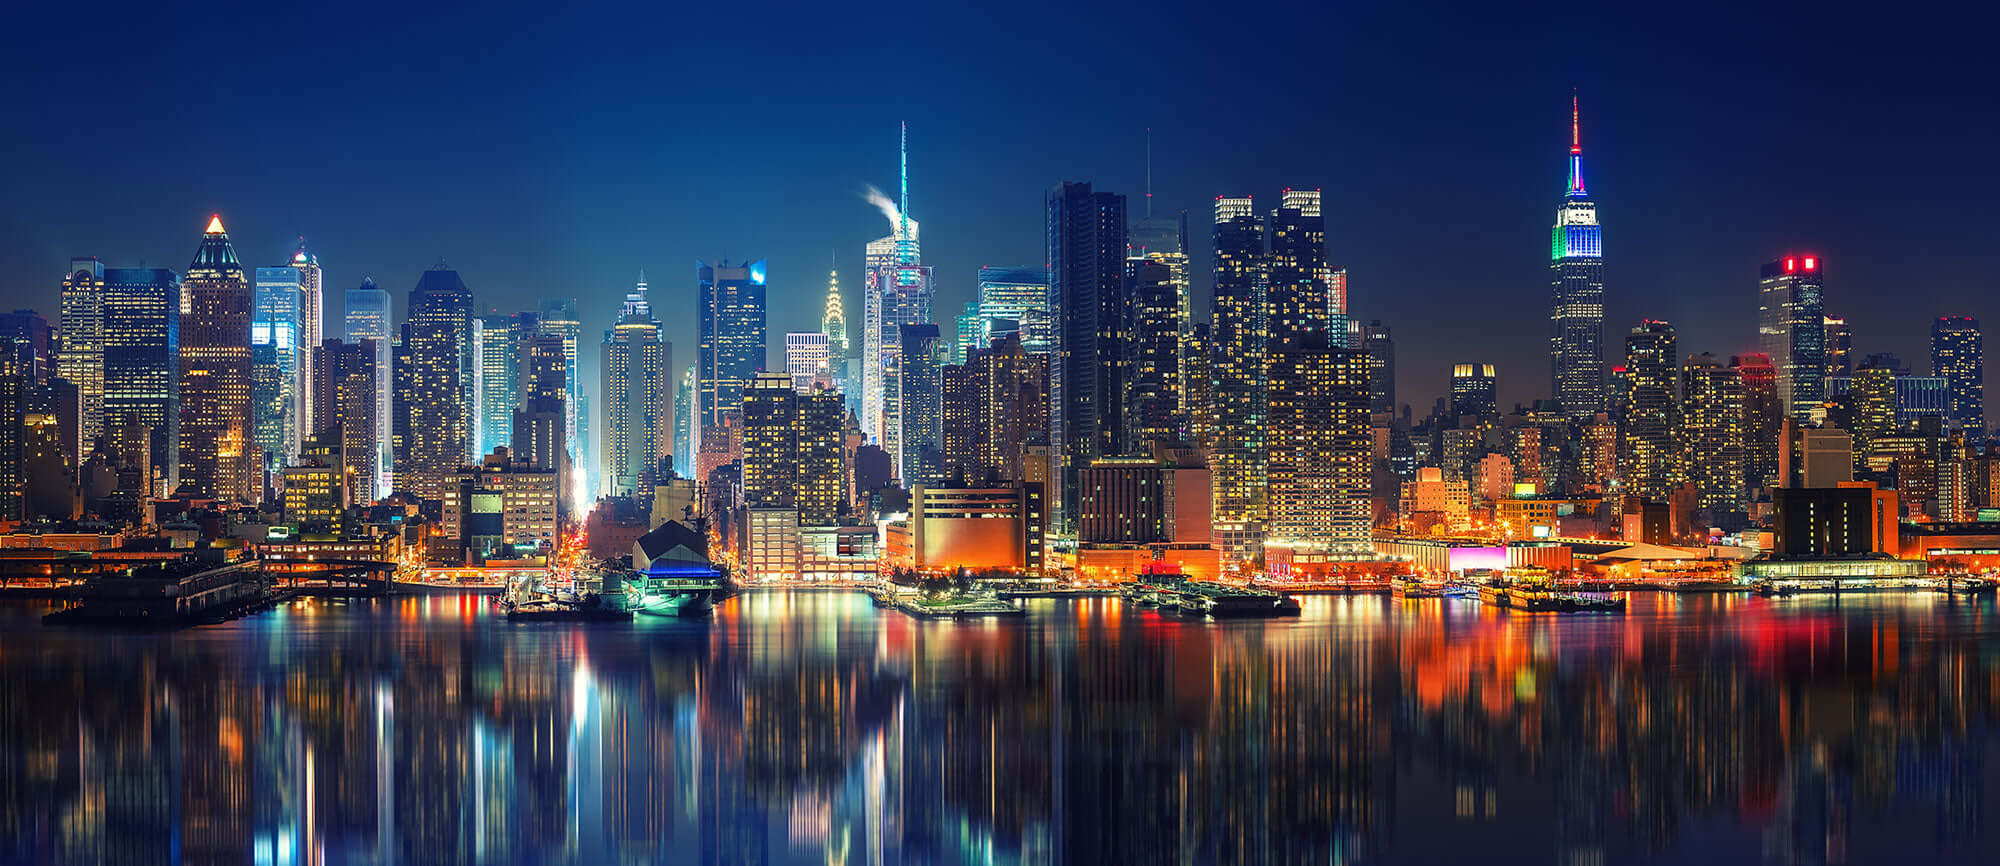
If you take a closer look at images of the night, you'll find that there are two fundamentally different approaches to taking photos at night. While nighttime landscape photography predominantly uses natural light sources such as the moon, stars, or perhaps a campfire or candle, photographers rely primarily on artificial light in an urban context. Here street lighting, car lights and their reflections play a major role.
A particularly interesting genre that works with artificial light is light painting, in which, true to its name, flashlights or other, sometimes colored, light sources are used to paint into the darkness of the night. With glowing pois or hula-hoops, dancing artists draw mandala-like lines for this purpose, for example, which can look like pictures from another world when exposed for a long time. But even armed with a simple headlamp and a string, you can try your hand at painting with light art.
Those who like to walk around the city at night and take pictures of the fascinating lights or dancing silhouettes will sooner or later be confronted with the question of a safe and well-protected transport of their photo tools. In the dark, the beloved camera can easily fall or bump into an unnoticed obstacle. To prevent this from happening and to keep the photo equipment intact and unharmed, Oberwerth's beautiful Hand Sleeves and Half Cases can become valuable companions on nighttime photo explorations. They are simple and elegant, lightweight and practical, and blend naturally with the camera.
Features
With many modern cameras, good photos can also be taken at night. The higher quality the camera, the easier it will be for you to achieve clear, sharp images at night. However, you don't need a special camera for night photography; you can get started right away with the camera you already have! In terms of lens, it should be primarily a fast version with as large an aperture as possible, so that you can capture a lot of light with it. In addition, wide-angle lenses are often used for night photography.
Only rarely can you take a good photo freehand at night. This is due to the fact that the reduced availability of light means that you have to work almost exclusively with long exposures, which are easily blurred when handheld. Therefore, as in landscape photography or macro photography, it is worthwhile to invest in a handy tripod that is as light as possible, but in any case stable, and to always have it with you for night photography.
Camera settings at night
When visibility is poor at night, it can seem tempting, especially for night photography beginners, to pull out the flash and activate the camera's autofocus or simply switch it to night mode. But if you avoid these beginner mistakes and practice the difficult craft of shooting at night from the start, you'll find how quickly you get used to the special challenges. And even if the pictures aren't a hit at first, practice makes perfect and with a few tips and tricks, you'll soon be making the most of the little light yourself.
You will also find the right camera bag for your equipment and everything you need to protect your camera in our Oberwerth Shop. From classic camera bags to modern sling bags to noble photo messen gers and backpacks. Of course you will also find hand straps and shoulder straps. Finest handwork from best materials. Feel free to browse around and find the bags & accessories that best suit you and your equipment!
Before you start fine-tuning your camera settings for your nighttime foray, make sure that all the photos you take are saved directly in RAW format. This is because this format stores much more information in the file than is actually seen in the photo. This ensures that you can still get quite a bit out of the images in post-processing and have greater creative freedom without adding anything to the photo that wasn't really there.
For night photos, the appropriate ISO is one of the most important factors that can make or break the success of your image. It is used to control the light sensitivity of the image sensor in the camera. The higher the ISO value and the more light-sensitive the sensor, the more image noise will occur. To avoid this, it is advisable to prefer a low ISO value and compensate for the lack of light by using a longer exposure time and a slightly larger aperture.
In general, the darker it is outside, the longer the sensor needs to be exposed. That's why you almost always work with long exposures of around 30 seconds at night. The longer the shutter speed at which the light hits the sensor, the less light there needs to be to take a good picture. So, for example, if you want to take a picture of the stars, the shutter speed will be much longer than for a scene in the brighter light of street lamps.
The necessary exposure time for a photo is determined in each case by the ISO value set and the aperture selected. If the aperture is too large, however, the background can quickly lose sharpness, which can lead to disturbances in the image result. This is why opinions differ about the ideal aperture setting. If you want to take fast photos with a short exposure time, you will choose a wide-open aperture, while for long exposures you will also get the background sharp if you go for a rather small aperture.
If you are working with a long exposure, as is the case when shooting at night, you should also activate the self-timer and, in the case of SLR cameras, the mirror lock-up to avoid camera shake or even the slight vibration of pressing the shutter button. With this little trick, you can easily achieve sharper images with clean lines.
Tips and tricks at a glance
- Use moonlight:Especially if you don't want to work with artificial light in nighttime nature photography, you should inform yourself about the phases of the moon and arrange your shots according to the position of the moon. However, you should keep in mind that moonlight is harder and whiter than sunlight and plan or post-process your images accordingly.
- Post-processing: The photos should be taken in RAW format from the outset, so that you have all the details in the subsequent post-processing and can still get as much as possible out of the photos afterwards.
- Do without autofocus and flash: For sharp pictures without noise and blurring, you should do without the camera's autofocus and rather set everything manually. The flash is also a no-go when taking pictures at night, as it only illuminates the immediate surroundings and makes for an unsightly, glaring light.
- Use the blue hour: In the special light of the late evening and early morning hours, when the sunlight falls very flat on the earth, you can practice photographing well in difficult lighting conditions.

