Using ISO to control exposure in photography
Anyone involved in photography will sooner or later come across the concept of the exposure triangle. This comprises three essential settings in photography, which include the ISO value as well as the aperture and exposure time. Why are these settings so important? They determine how much light enters the camera and therefore ultimately the brightness and sharpness of the image. The ISO value refers to the camera's sensitivity to light. If images are underexposed or show unattractive image noise, this is due to incorrect settings in this area. We explain how you can adjust the value to the lighting situation and take pictures without any loss of quality.

ISO in photography
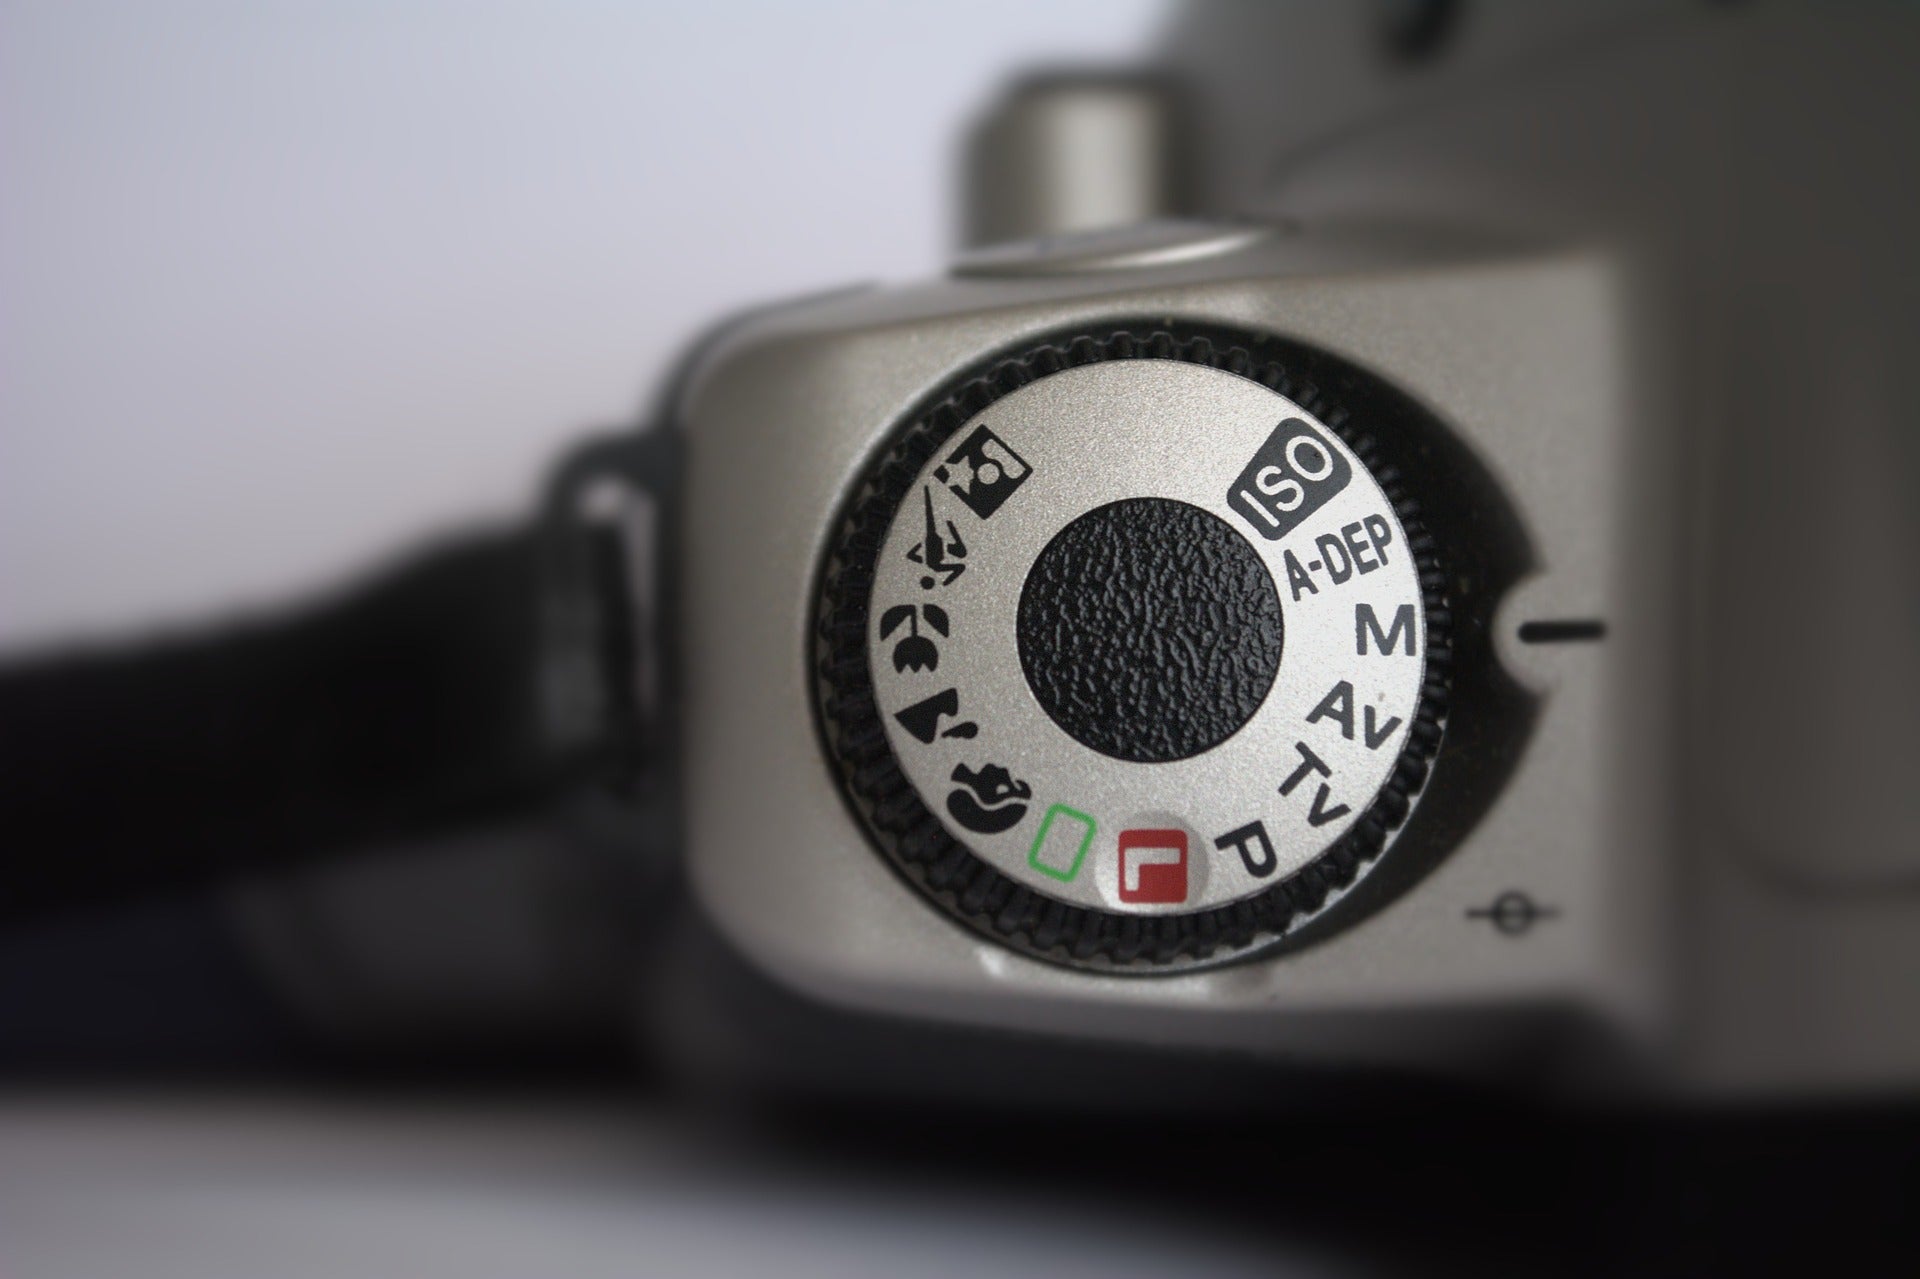
ISO stands for International Organization for Standardization. This is an international association of national standardization organizations. Since its foundation, the national abbreviations for film speed, such as DIN, are no longer used in Germany. Of course, the term film speed dates back to the days of analog photography. Even then, this value was of great importance. In the digital age, we speak of light sensitivity and use the ISO value. While it used to be necessary to change the film in order to adapt to changing light conditions, we have it much easier today. Exposure compensation through ISO adjustment is conveniently possible via the camera's main or quick menu. However, this also means that you have to get to grips with the ISO button on your camera. This is because the correct ISO values are not selected automatically and are decisive for the quality of the resulting photos.
Understanding ISO settings
The ISO value indicates how sensitively the image sensor reacts to light. Strictly speaking, ISO regulates the electronic light amplification in the camera sensor. And there are certain ranges here that every photographer should know in order to be able to make the right settings quickly. A rough distinction is often made between low and high ISO values:
-Low ISO values: these lie in a range between ISO 100 and 200, for example. The sensitivity to light is particularly low. You select this value when there is a lot of light or when a long exposure is required.
-High ISO values: High IOS values are in a range from 1600 to 6400, for example. The sensor is now highly sensitive to light. These settings are useful in dark environments and help to ensure that sufficient light still falls on the sensor.
If you want to react flexibly to different lighting conditions, you should not only master the camera settings, but also have a safe and practical way of transporting your equipment. Robust and well-designed camera bags help to keep equipment quickly to hand and protected - perfect for any shooting situation.
ISO aperture-shutter speed explained in context
The aperture controls how much light falls through the lens onto the sensor. This also influences the depth of field. The shutter speed in turn determines how long the sensor is exposed to light. This in turn influences the motion blur. Finally, ISO regulates the sensitivity to the incident light. Taken together, all three factors form the so-called exposure triangle.
If you now increase the ISO value by one step, for example from 100 to 200, this doubles the sensitivity to light. At the same time, this means that you can halve the shutter speed accordingly or close the aperture by one stop. It is therefore important to understand that all three factors are interdependent.
Controlling exposure with ISO
If you control the exposure using ISO, you have more options for fine control. At higher ISO values, you can select faster shutter speeds. This is useful if you want to freeze movements. If you require a shallower depth of field and therefore a large aperture (background bokeh), this can quickly lead to overexposure. This is because more light now falls on the lens. You can compensate for this by setting the ISO value a little lower. This allows you to achieve bokeh without overexposure.
A camera bag with a modular interior layout is particularly useful when you're out and about in rapidly changing light conditions. This keeps your camera, fast lenses and other accessories safely organized and allows you to concentrate fully on your creative decisions.

Avoid noise at high ISO
Increasing the ISO value is not a panacea in low light. The increase has its price, which you as a photographer pay in the form of higher image noise. We are talking here about graininess or color errors that significantly worsen the result. The question therefore arises as to how this unattractive noise can be avoided at a higher ISO and whether this is even possible.
If your camera has noise reduction, for example, you should try it out. Then you may not need to reduce the ISO value to counteract this. With dark images, you should also avoid post-processing in the form of brightening, as otherwise the noise will be more visible.
The so-called ETTR (Expose to the Right) is also important in this context. This means that the tonal values in the histogram should be shifted as far to the right as possible by selecting the correct exposure. The black values and shadows can be seen on the left in the histogram and the light values on the right. The problem with the dark values or shadow areas is that they have less signal and more noise. The opposite is true for the bright values. In the bright areas, the sensor stores more data and less noise. Therefore, the right shift is always welcome if you want to reduce noise.
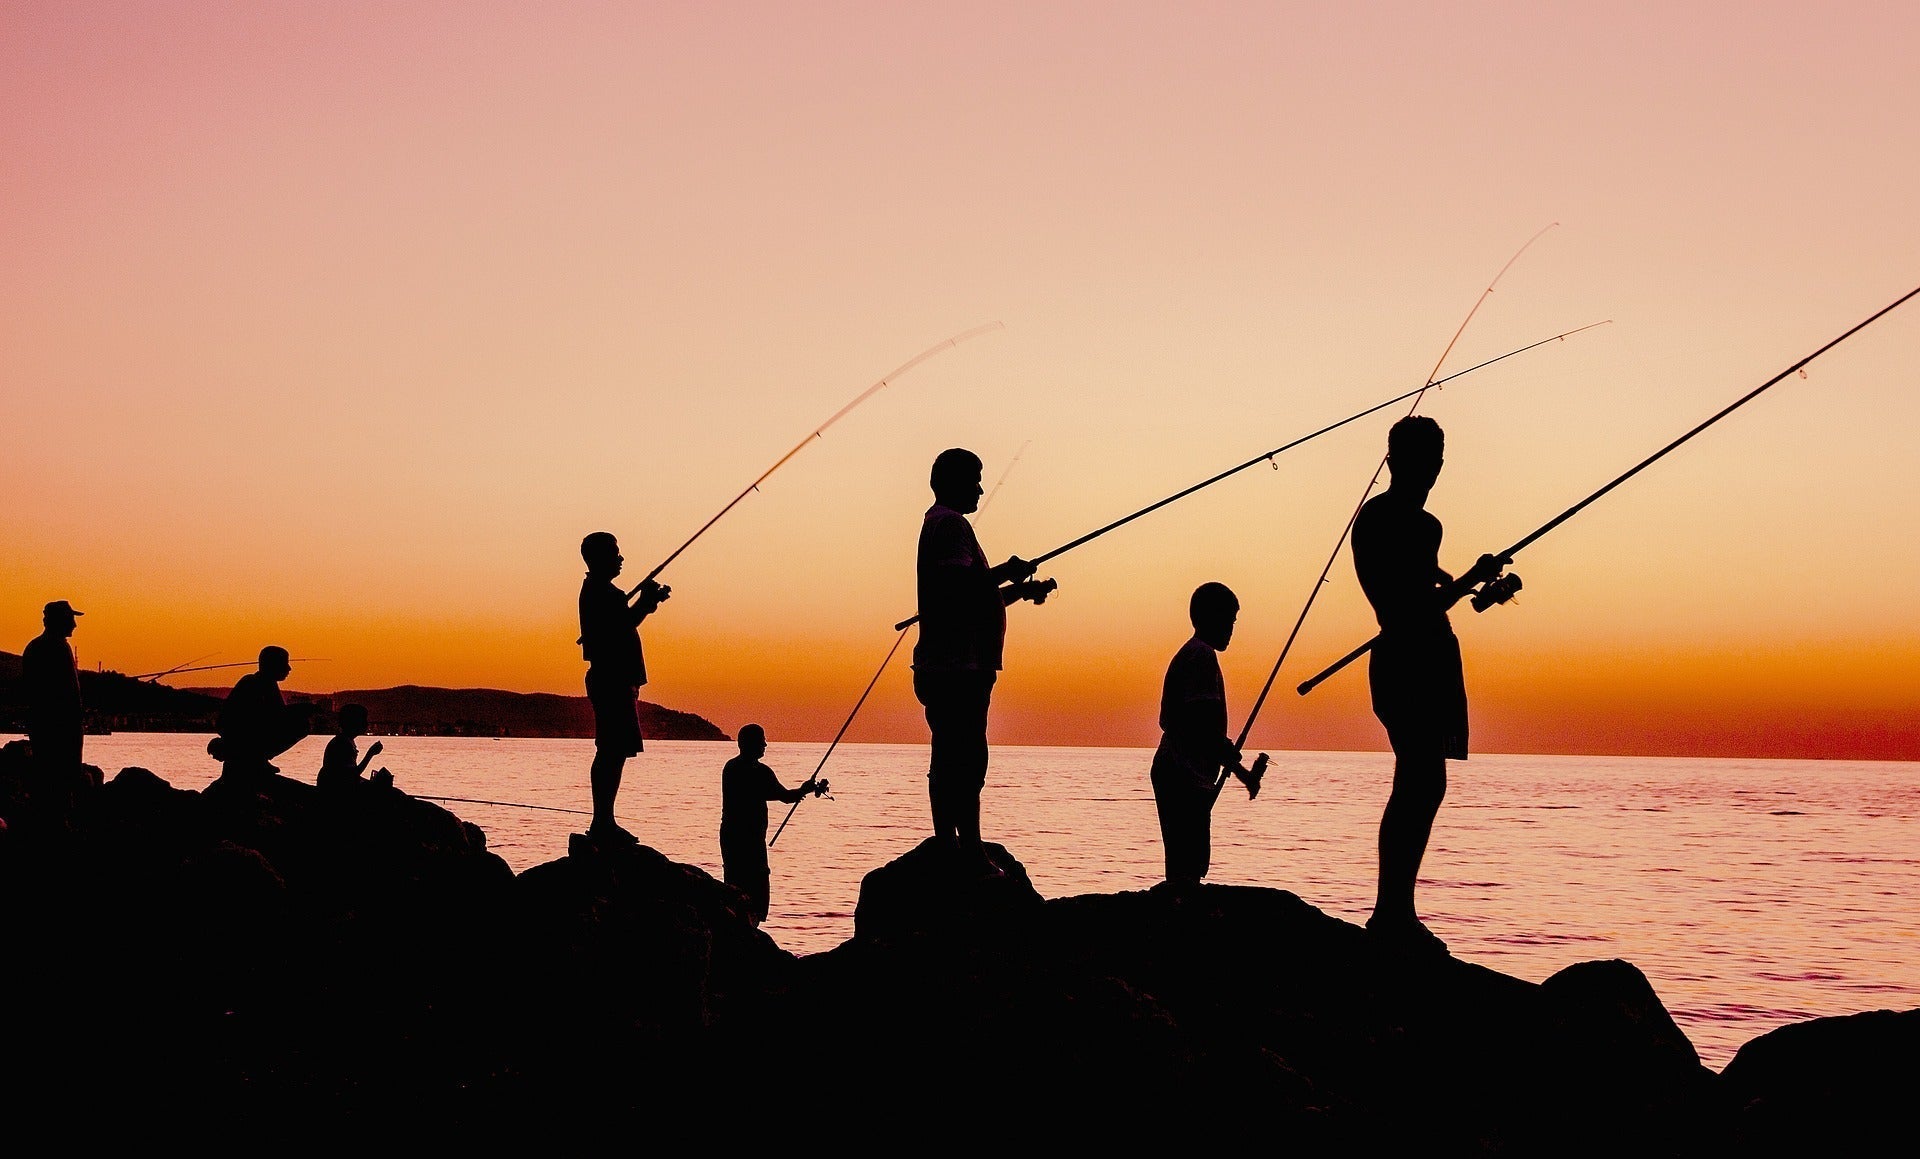
Low-light photography tips: the perfect setting in low light
For low-light shoots or longer photo tours, we recommend not only the right technique, but also the right protection for your equipment. A weatherproof bag or a comfortable camera backpack ensures that your equipment remains optimally protected in all light and weather conditions
The right ISO settings are particularly important in low-light situations. Simply increasing the value often does not achieve the desired result, as this also increases the noise. Here are some tips on how to take successful pictures even in difficult lighting conditions:
-Increase ISO value: This is the obvious measure to counteract the low light during shooting. However, be careful. Increasing the ISO value is associated with increased image noise.
-Using a tripod: If you use a tripod, longer exposure times are possible without camera shake. This allows you to maintain low ISO values and still get enough light on the sensor. However, freehand photography is not a good idea in low-light scenarios.
-Use the RAW format: In low light, it is often unavoidable that some image noise is visible due to the required ISO settings. If you shoot raw data (RAW), you at least have the option of correcting the noise in post-processing afterwards.
-Use a fast lens: Fast lenses are characterized by their large aperture. More light reaches the sensor and this naturally helps in low ambient light. Manufacturers specify the aperture in f-numbers. The smaller the f-number, the larger the aperture. Suitable lenses have an aperture of f/1.4 or f/2.8, for example.