Astrophotography for beginners: photographing the stars
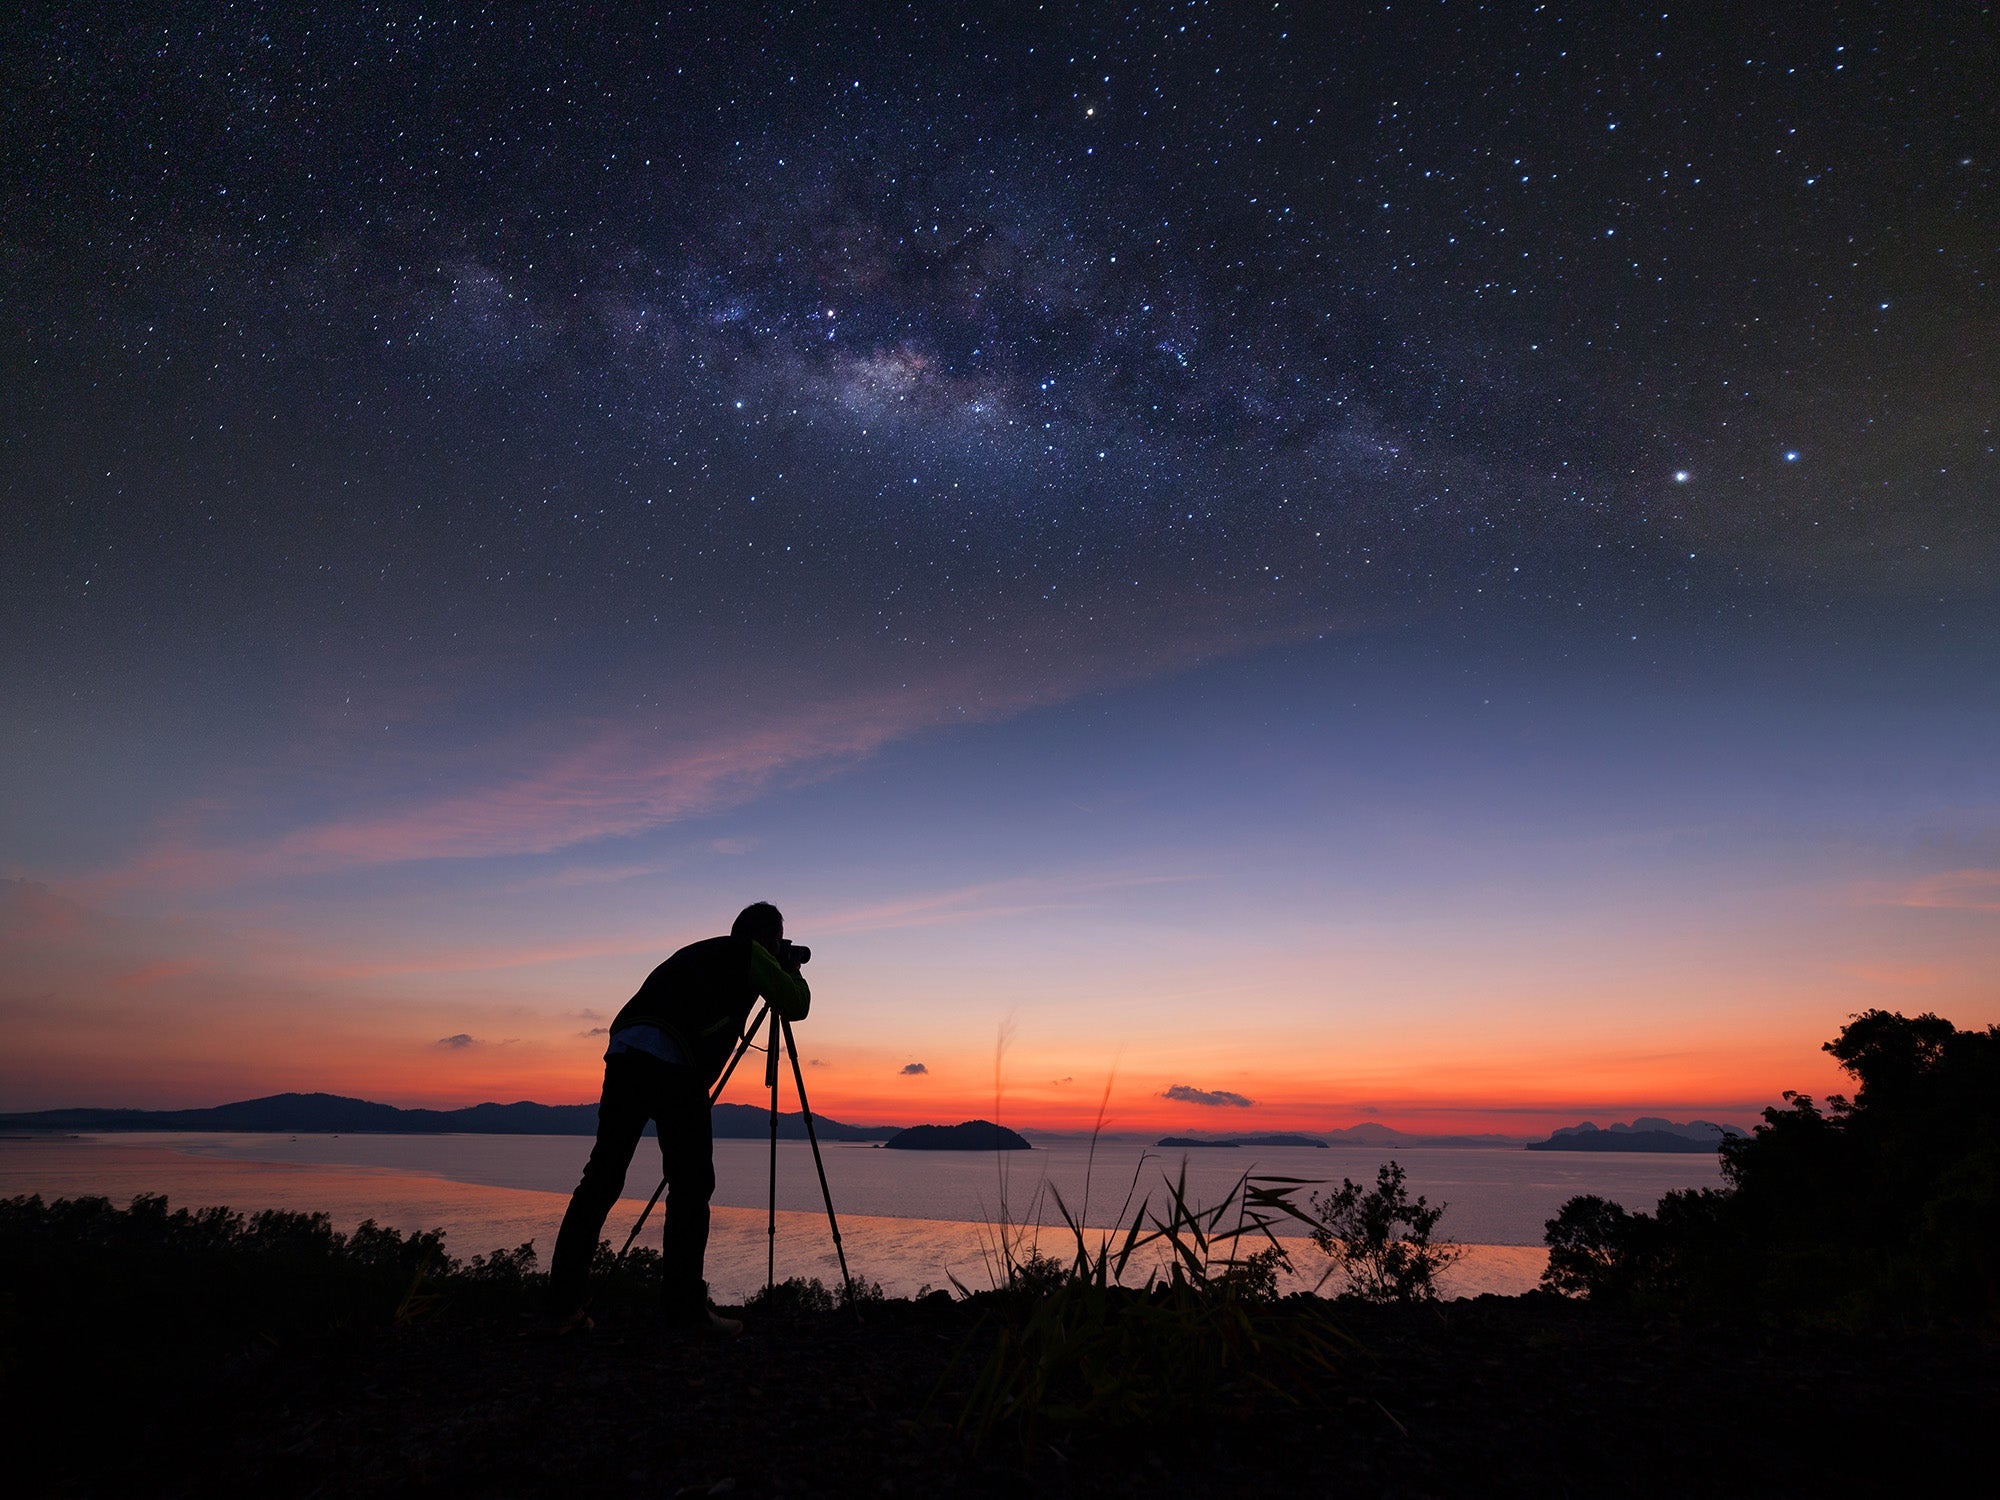
Who isn't amazed when looking at a clear night sky? When the Milky Way appears or a bright shooting star suddenly and unexpectedly flits across the night sky, an amateur photographer's fingers can tingle to capture these unique moments and views. And thanks to modern technology, it is also becoming easier and easier for amateurs to take great astrophotos with minimal equipment!
The necessary equipment
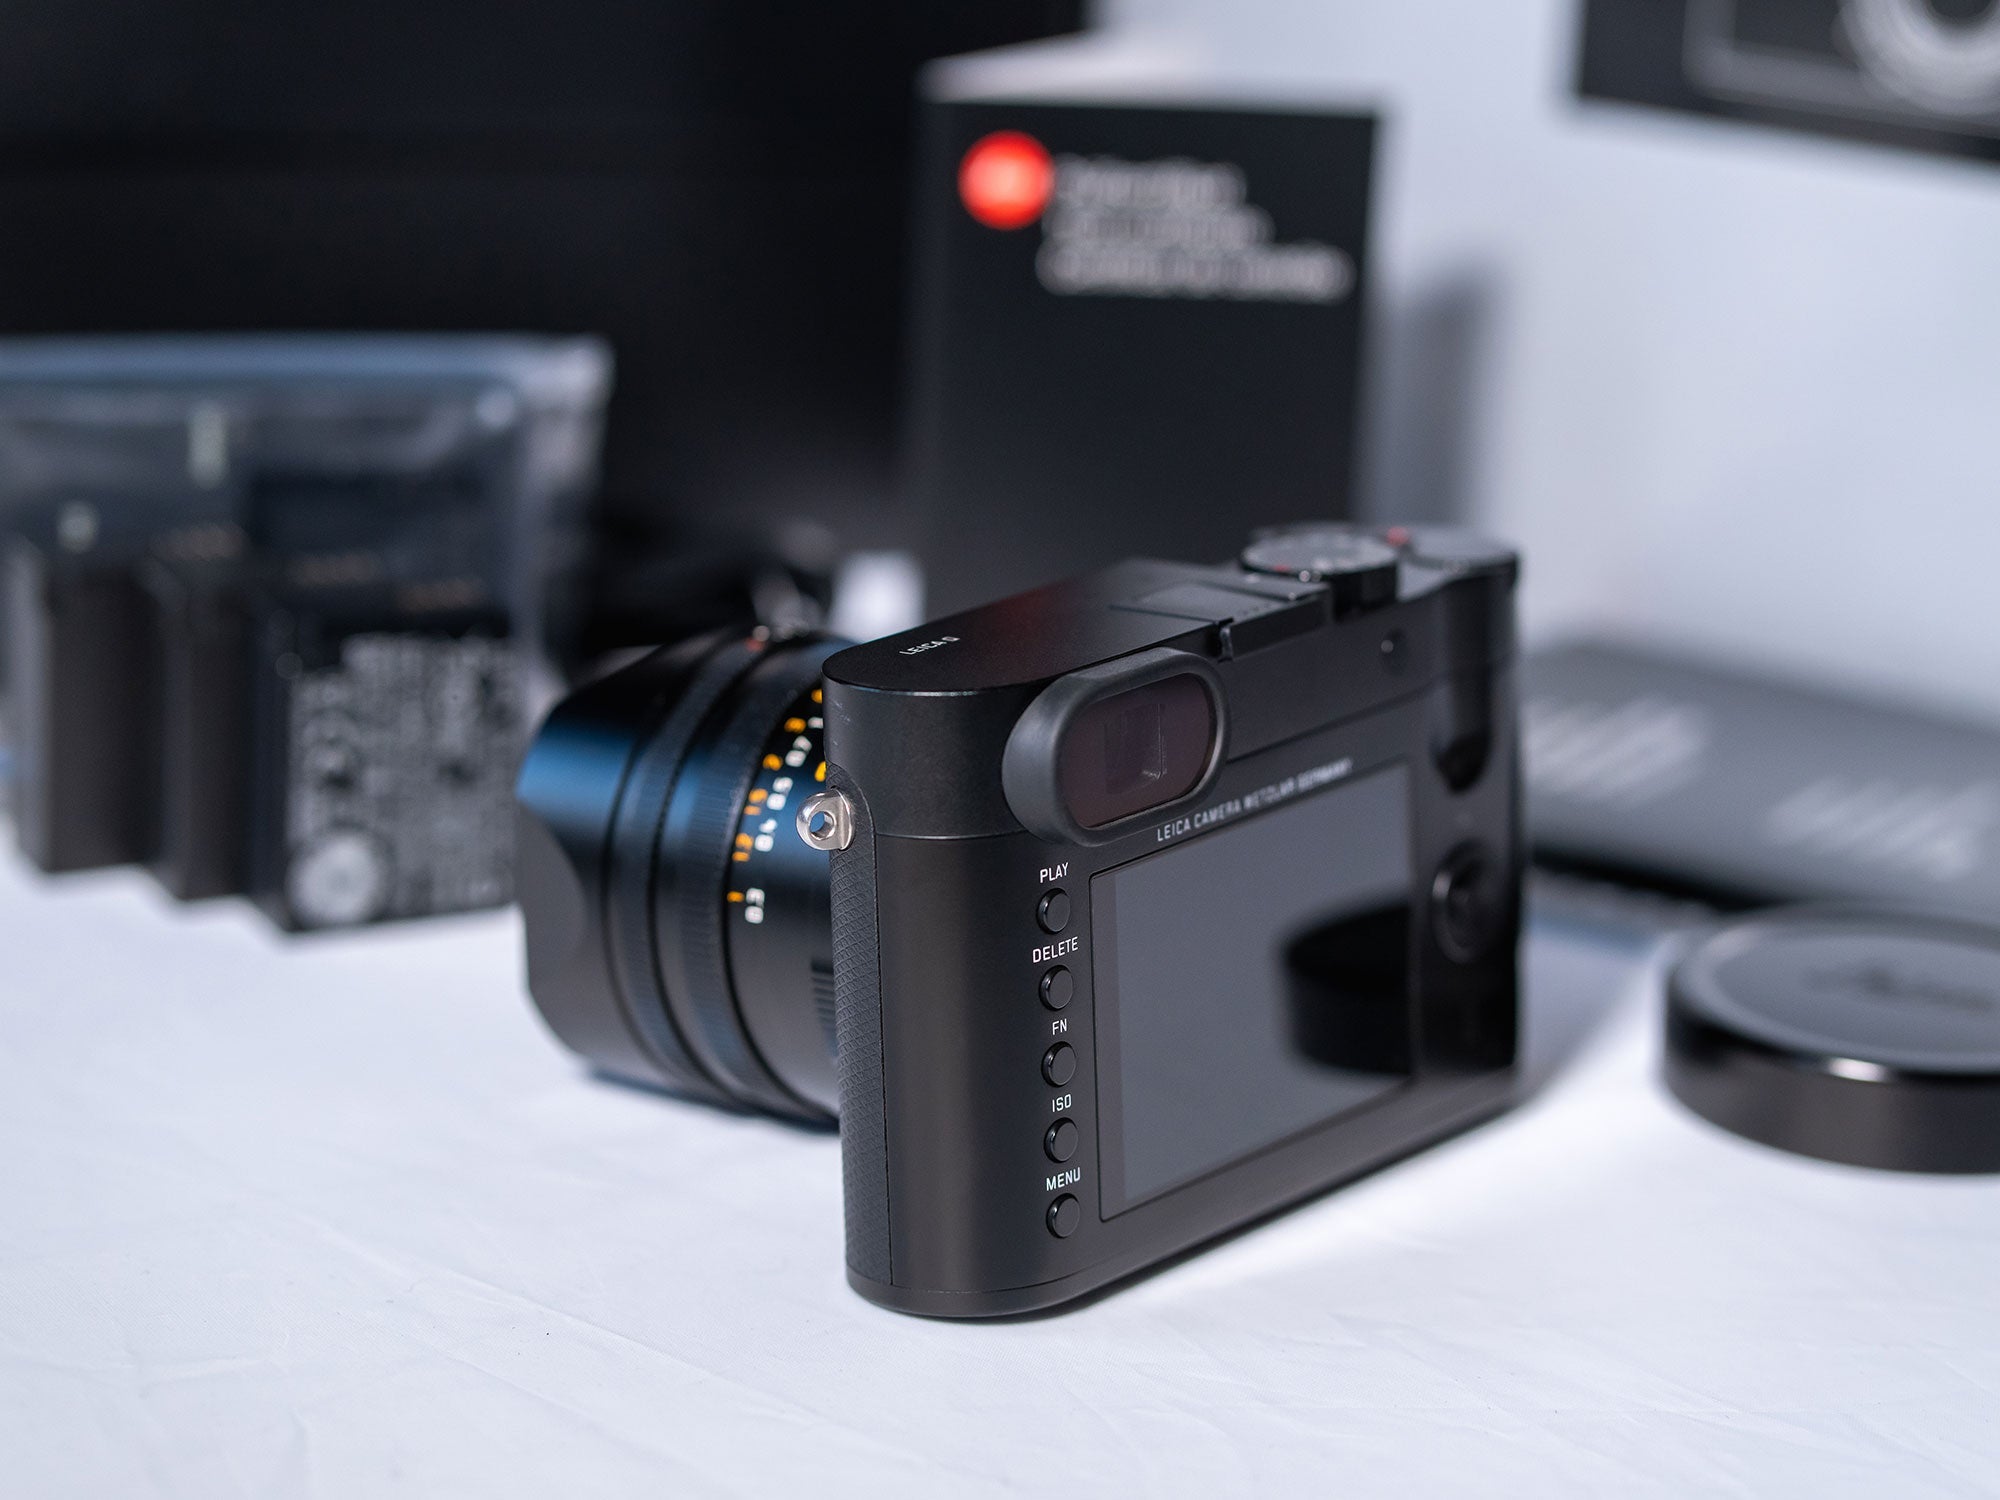
A normal DSLR or mirrorless system camera with manual mode can be completely sufficient for beginners in the genre of astrophotography. However, a fast lens with the widest possible aperture (e.g. f/2.8 or larger) is important. Wide-angle lenses are particularly suitable for night photography in low light, as they can capture a larger field of the sky and create more impressive images.
You should also take a sturdy tripod with you, which enables you to take blur-free pictures despite long exposure times. A remote shutter release should also be used to prevent camera shake, as pressing the shutter release will cause vibrations that will inevitably be visible in the final photo due to the long exposure time. If you want to invest a little more in equipment for night-time photo expeditions, you can purchase a tracking device, i.e. a motorized mount that compensates for the earth's rotation. This makes it easy to prevent stars from appearing as lines on the image, even when taking long exposures, and to take more clearly defined images with even more starlight.
The right settings
The optimum camera settings depend on various factors and vary depending on the speed of the lens used, the ISO value or the lighting conditions on location. In general, however, astrophotography involves working with an aperture that is as wide open as possible in order to capture many rays of light. Exposure times are generally set quite long; beginners can start with 20-30 second exposures, for example, and adjust these depending on the lighting conditions and desired effects.
The camera focus should be infinitely sharp, whereby a bright star can be used as a focusing aid. A high ISO value can be used to capture the light from faint stars. However, a middle way must be found here, as image noise can quickly become a problem with a high ISO value.
The best time for astrophotography in Germany
Even if it is tempting to sit outside on a warm summer night and take a few pictures of the night sky, most astrophotography experts recommend taking pictures in the colder months from September to March. You can certainly get started in the summer months, but the short nights and the extended twilight phase with increased brightness make night-time photography more difficult. The high humidity in summer is also an obstacle, as it often leads to hazy clouds in the sky at night, which impair visibility and make clear photos much more difficult.
In contrast, when the nights get longer and darker with the onset of autumn, the Milky Way becomes more visible and the air is often clearer and drier, allowing for sharper images of the night sky.
In addition to the ideal time of year and a clear, cloudless night sky, you should also keep a close eye on the phase of the moon. In order to exclude additional light from the Earth's satellite, you should photograph the stars at new moon whenever possible, as this is when they stand out most clearly against the dark night sky. When it comes to location, the general rule is that dark places away from cities or other places with lots of artificial light sources are ideal. There are some places in Germany that are particularly suitable for astrophotography.
The best places for star photography
If you are looking for an ideal location for astrophotography in your area, the best place to start is by looking at light pollution maps. Here you can find the places with the least light pollution. When choosing a location, aspects such as accessibility and safety should be taken into account, as it is important to work in a place where you can set up your equipment in peace and quiet and also be out and about at night. A particularly beautiful landscape also helps to really capture the astrophotos. In general, it should also be noted that the air is often clearer and drier at high altitudes and therefore better for star photography.
Surprisingly, even in densely populated Germany, there are some particularly dark places that are officially among the locations with the least light pollution in Europe. These areas, officially recognized as star parks, are particularly protected from light pollution and therefore offer the ideal conditions for both astrophotography and stargazing in general.
In addition to the Westhavelland Star Park in Brandenburg, there is also the Mecklenburger Parkland Star Park in Mecklenburg-Vorpommern. If you prefer to head south of the country, you can visit the Rhön Star Park in Bavaria or the Swabian Alb Star Park in Baden-Württemberg.
In addition to these designated star parks, there are also many other places in Germany that are suitable for astrophotography. These generally include remote and relatively sparsely populated regions such as the Allgäu, the Black Forest, the Harz Mountains, the Eifel or various North Sea islands.
Capturing time and space: Star Trails
With shooting stars, which move quickly across the night sky, you can clearly see how the celestial body moves. It's different with real stars, however, which we see as if they were fixed in the sky. Anyone who has ever taken the time to observe individual celestial objects throughout the night will have noticed how they move slowly but surely across the night sky. To capture this movement and make it visible to everyone, there is a technique commonly known as star trails.
Here, a longer exposure of the night sky creates long lines of light that depict the movement of the stars. This creates impressive, circular patterns. The usual basic equipment for astrophotography is sufficient to take these great pictures: a sturdy tripod, a camera with manual control and a remote shutter release. The aperture should be wide open to capture as much light as possible and the ISO value low to minimize noise. Many cameras have a so-called bulb mode, which is particularly suitable for long exposure times.
Specifically, the star trails are created by taking a series of individual images, each of which is exposed for several minutes. The individual images can then be combined in post-processing using software such as StarStaX or Photoshop to create a time-lapse so that the star trails are visible in all their luminosity.
When taking pictures of star trails, you should choose a location that is as dark as possible and a cloudless night that is free of image interference. If you want to get concentric circles on the image, the North or Pole Star should be chosen as the image center, because all stars and constellations rotate around it throughout the night.
Even more playful: light painting
If you want to experiment more and visibly intervene in your own image design, you can also try your hand at light painting. This technique of photography in the dark, which can be perfectly combined with Star Trails, for example, involves using external light sources to supplement the sky lights. A flashlight is often used for this, but candles are also ideal for light effects and create very special lighting conditions. LEDs and lights in different shades of color are also ideal for creating exciting light painting shots.
Conclusion
The field of astrophotography is vast and also offers many creative photographic possibilities. Photographing in very special, often very lonely and natural locations at night also has its own special charm. Planning is particularly important here, as factors such as location, weather and moon phase must be right in order to take a good picture of the starry sky. A big advantage of astrophotography is that you don't need much special equipment for this genre of photography, but can try out a lot with the basics. Whether it's star trails, light painting or hunting for shooting stars, there's plenty to try out and marvel at.
Start your adventure in astrophotography perfectly equipped - discover high-quality camera bags in the Oberwerth Shop that protect your equipment safely and stylishly. Our handmade bags offer ideal protection for your camera, lenses and accessories so that you can concentrate fully on the moment, even when shooting at night. From sturdy camera backpacks for longer outdoor tours to compact bags for spontaneous stargazing sessions - we have the right solution for your night-time photo expeditions. Take a look and find the perfect bag for your astrophotography!

