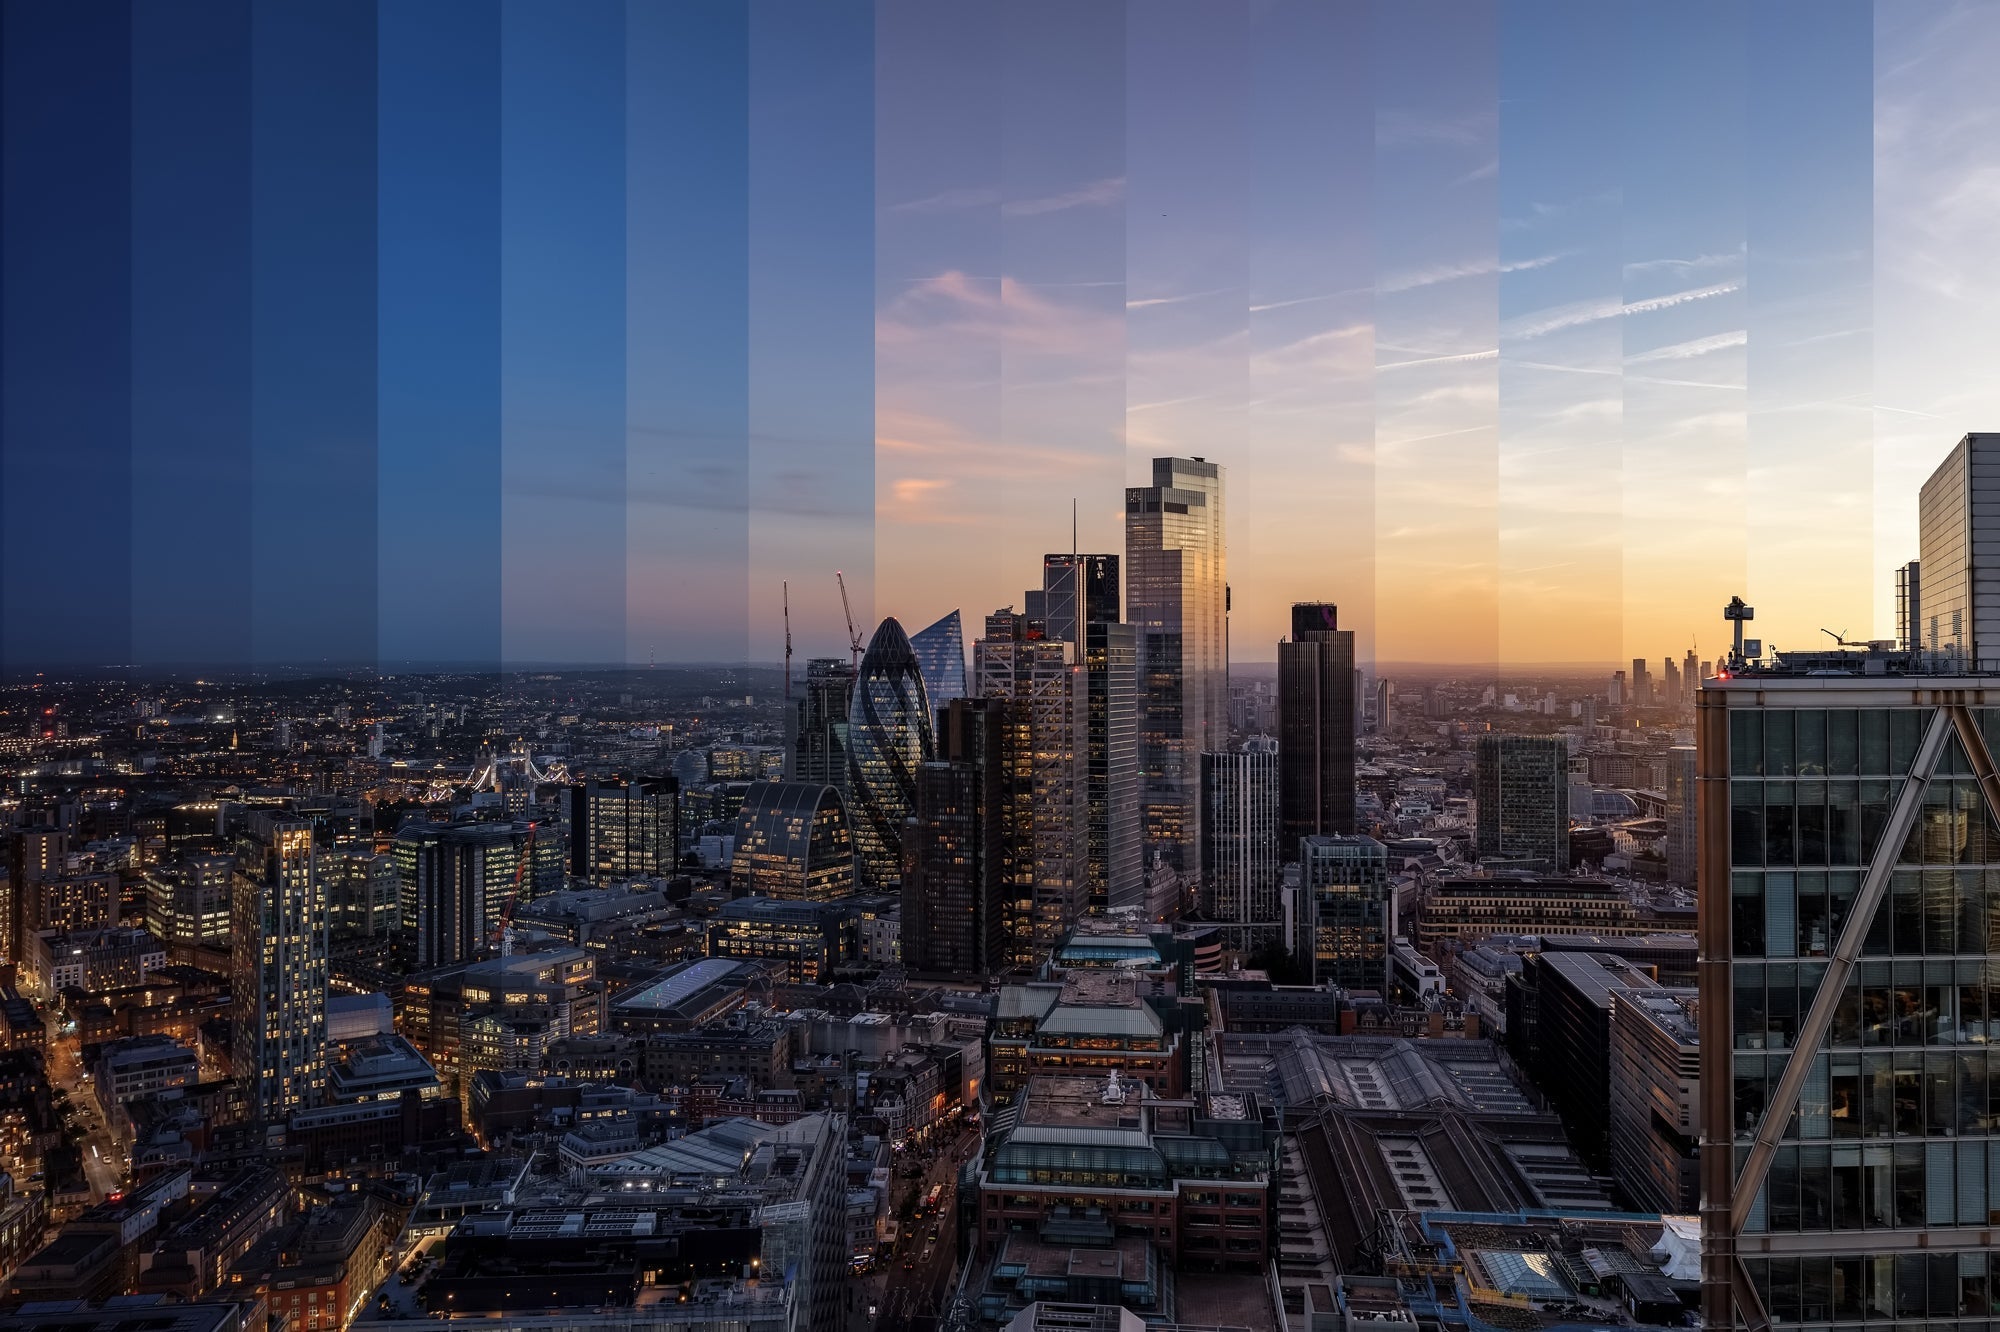
Time-lapse shots from front to back
Time-lapse photography, also known as timelapse photography, offers an insight into a type of moving image that is as old as photography itself. If you look at very old video recordings such as those made by the Lumière brothers in France, the jerky movements and slight flickering in the image are exactly like today's timelapse recordings. This is no coincidence, because just like today's time-lapse photographers, they also took a lot of individual pictures, which they then put together to form a whole. The moving images of time-lapse photography offer a fascinating medium for visualizing slow processes such as the growth of a plant or the movement of clouds.
Time-lapse photography explained simply
Strictly speaking, time-lapse photography is a sequence of photos that are taken at certain intervals and then combined into a sequence. This creates a kind of video that works in a similar way to old cartoons, where one image is strung together after another. Our brain creates the transitions all by itself to make the individual images appear as a harmonious whole. Compared to a video, which is played back very quickly, the images in a time-lapse appear more jerky.
To record a time-lapse, all you have to do is select the scene, set up a tripod or secure the camera in some other way and select the desired interval duration, i.e. the time between the individual shots, and the total number of shots. Then you're ready to go. Seems pretty simple? It is, but there are of course a few tips and tricks for really good time-lapse shots!
The right equipment
When it comes to equipment, timelapse photography basically requires the basic equipment of any photographic kit. First and foremost, of course, you need a digital camera with the option of manual settings that allow you to adjust the focus, exposure time and aperture individually. As the camera generally does not move during a time-lapse shot, you should also have a tripod with you. This makes it possible to avoid camera shake and maintain a consistent image composition.
Most cameras already have an integrated interval shutter release, but if this is too limited, you can also use an external interval shutter release. This ensures that the pictures are taken automatically at the specified intervals. As time-lapse photography can take a while and may require several attempts, it is essential to have enough batteries with you. High-capacity memory cards are also important in order to have enough space for the high-resolution images. An ND filter can also be useful to reduce the amount of light falling on the sensor, allowing for longer exposure times, resulting in smoother movements in the time-lapse.
To ensure that your equipment is always optimally protected, our camera bags offer the perfect storage space for your camera, lenses and accessories. Robust, weatherproof and stylish - ideal for safely transporting your equipment on any time-lapse adventure.
Well planned is half the battle
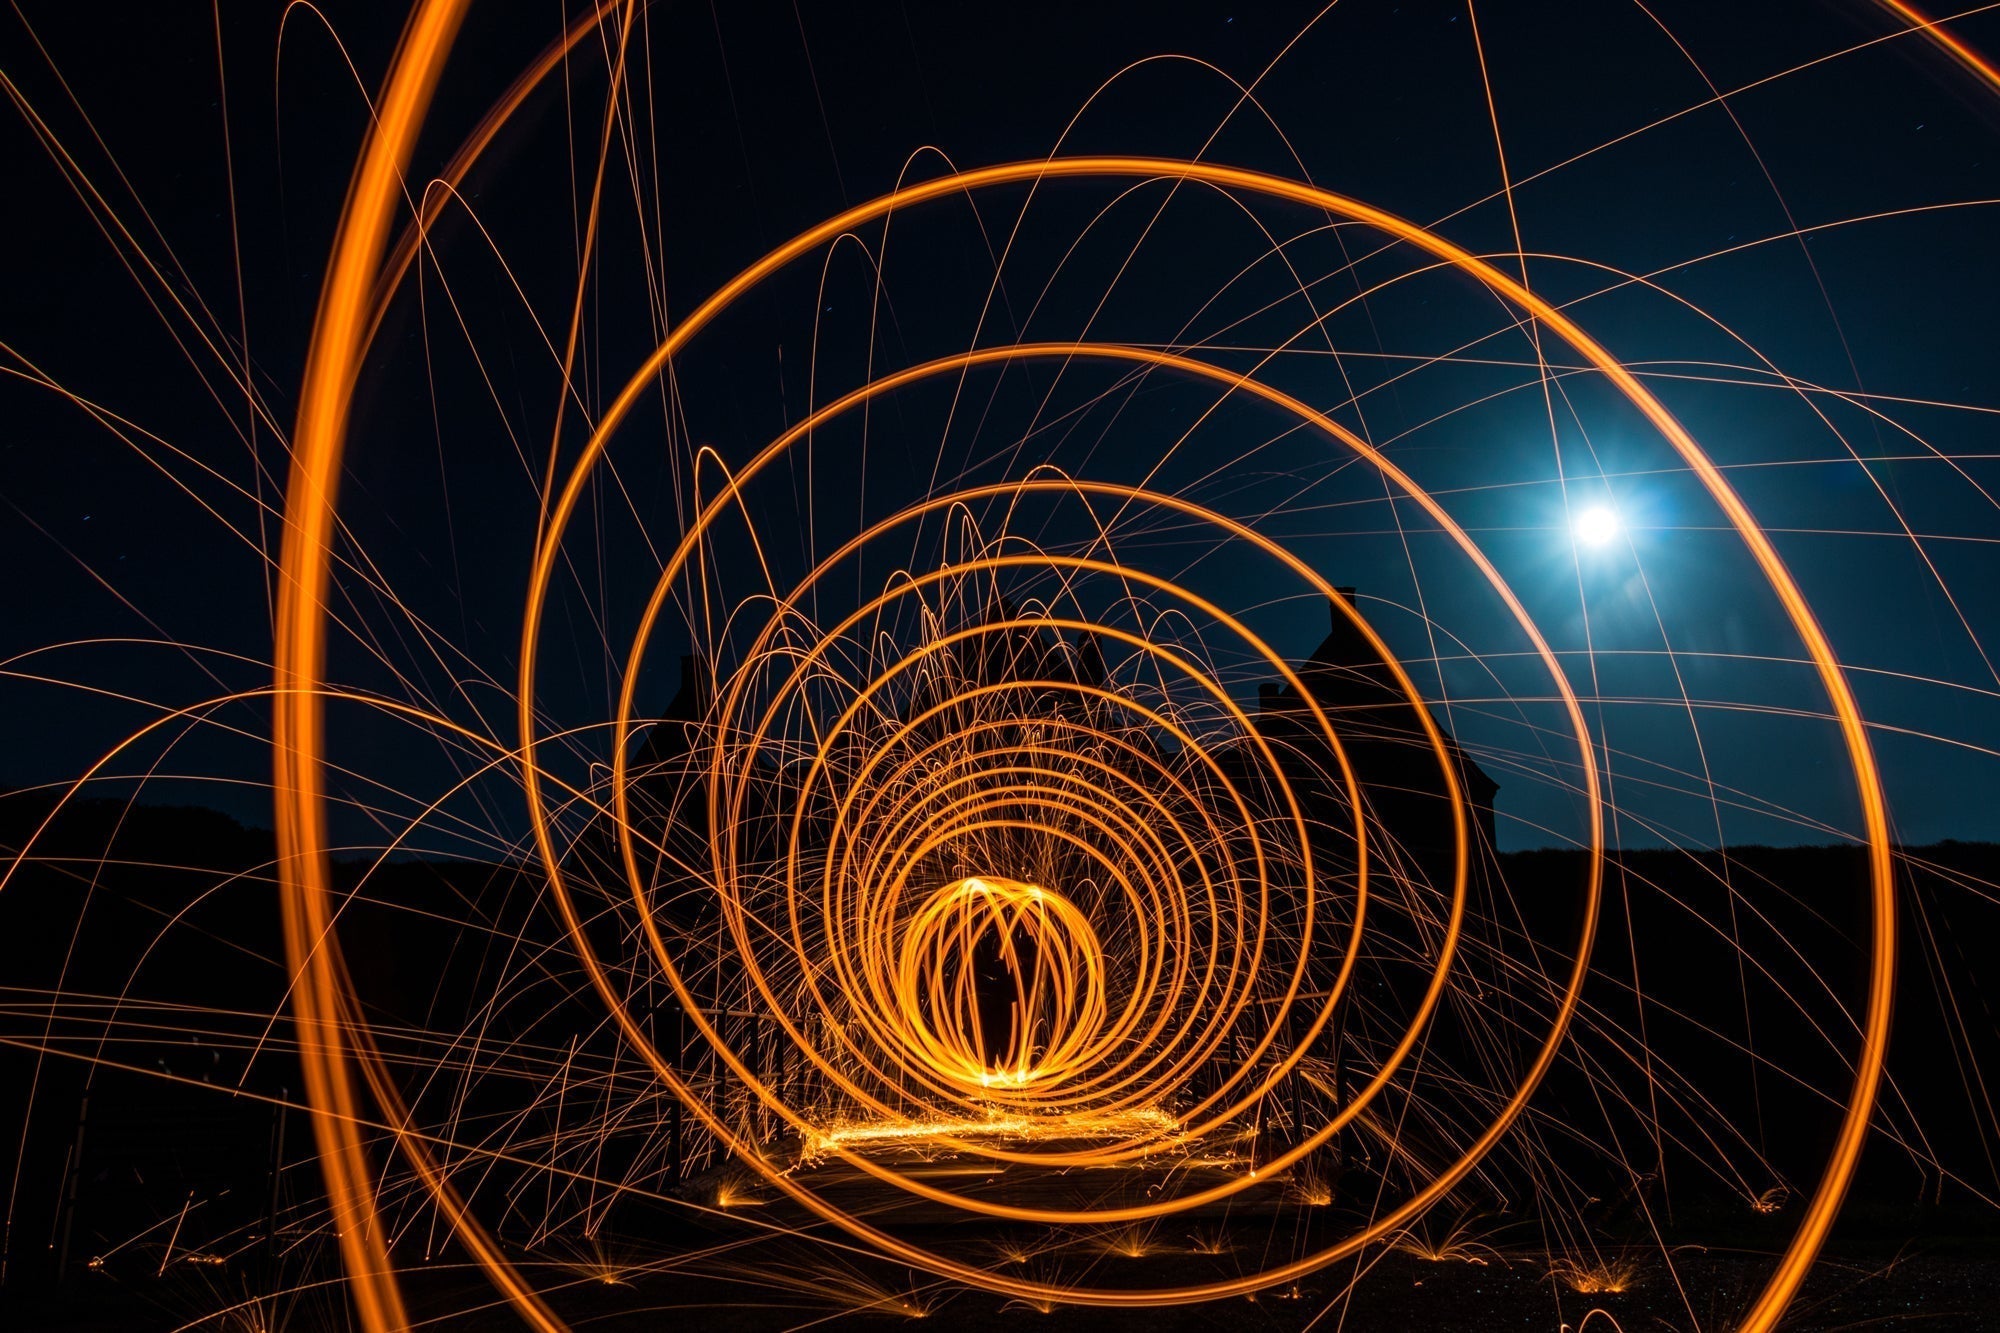
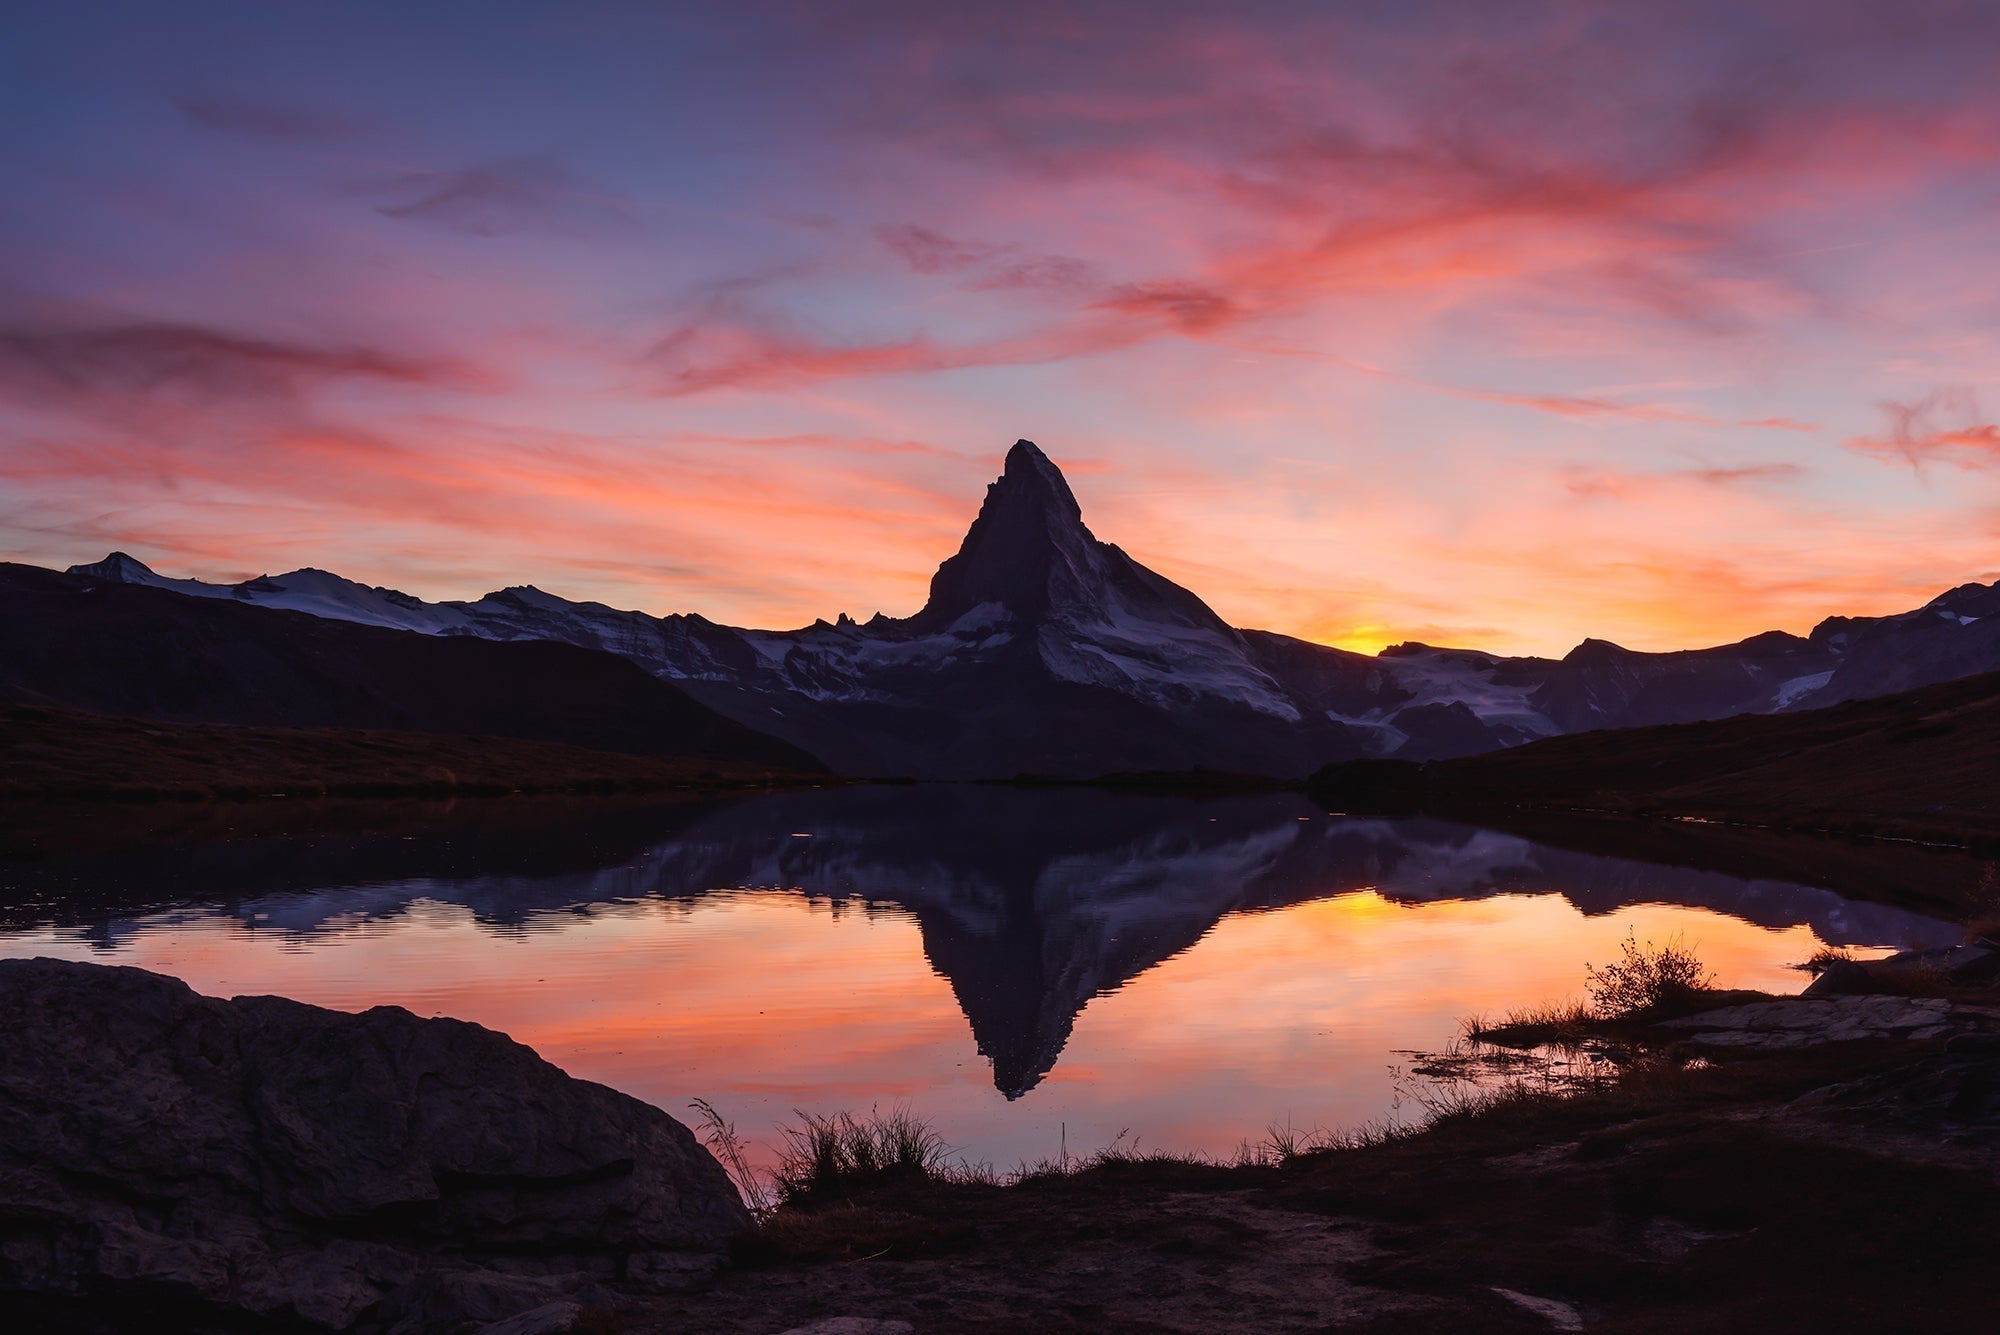
Since a time-lapse recording takes a while and it is therefore time-consuming and battery-intensive to adjust and repeat it again and again, it should be well prepared. It can help to take a few simple pictures first to be sure of the subject and composition. When choosing a subject, you should look for something with clear changes over time, such as the movement of clouds, the opening of a flower, the to and fro on a building site or the hustle and bustle of a big city. If you already have a little more experience, you can also try your hand at sunrises or sunsets or shots of a plant growing over several days. In terms of location, you should find a place with a clear view and a stable base for the tripod, where you are not in anyone's way and there is no risk to your own equipment.
You should also determine the time frame for the shoot before you start. This generally depends entirely on the desired motif, because depending on how quickly it changes, the shot must also be longer or shorter. The time frame of a time-lapse is determined by the number of shots, but also by the interval, i.e. the time between the shots. A rapidly changing subject generally requires shorter intervals and a slowly changing subject requires longer intervals. For example, you might want to take a picture every five seconds of the hustle and bustle of a building site, but only every few hours of the slow growth of a plant.
A final issue that needs to be clarified before taking the picture is the camera settings. You should never rely on the automatic settings, as these can lead to so-called flickering. This refers to a kind of flickering in the image caused by differences in brightness between the individual images, which in turn are caused by the camera's automatic adjustments. The aperture, exposure time and ISO value should therefore be set manually, as this is the only way to ensure a constant exposure. The focus should also be selected manually and set to the main subject. The same applies to the white balance, which should also remain constant throughout the entire time-lapse recording.
For longer outdoor sessions, we recommend our practical camera backpacks, which not only safely store your camera, but also additional equipment. This allows you to remain flexible and concentrate fully on your creative timelapse shots.
Post-processing
You now have all the ingredients for a great timelapse with the recording, but it is only really created in post-production. In order to have as much creative leeway as possible here, you should take the pictures in RAW format from the start. If you want, you can then edit the individual images in an image editing program to make colour corrections, exposure adjustments or other optimizations. However, it is extremely important that any changes are made to all images in order to ensure the uniformity of the recording and to avoid flickering in the end product.
The individual images must then be combined using video editing software such as Adobe Premiere Pro or Final Cut or special timelapse software such as LRT-Timelapse. The desired resolution, frame rate and output format of the final video can also be specified here. Optionally, the video can also be accompanied by music or sound effects to enhance its mood and round off the final product.
Conclusion
Timelapses are becoming increasingly popular and can now be taken relatively easily with almost any cell phone camera. However, a little prior knowledge and skill is required to create really great shots. Above all, the choice of a good subject, the location of the camera and the manual settings of the image are the key to achieving a really good time-lapse shot. This form of moving photography, which is reminiscent of old cartoons, offers a lot of creative scope and many opportunities to develop the photographer's craft even further.
Discover our high-quality camera bags and backpacks now, which protect your equipment perfectly - whether for short photo tours or long time-lapse projects. Equip yourself perfectly and take your timelapse photography to the next level!